Welcome to Your First Steps with Your New Webspace!
Below you find a description of how to upload and access the files on your webspace.
1 - get an SFTP/SSH2 client
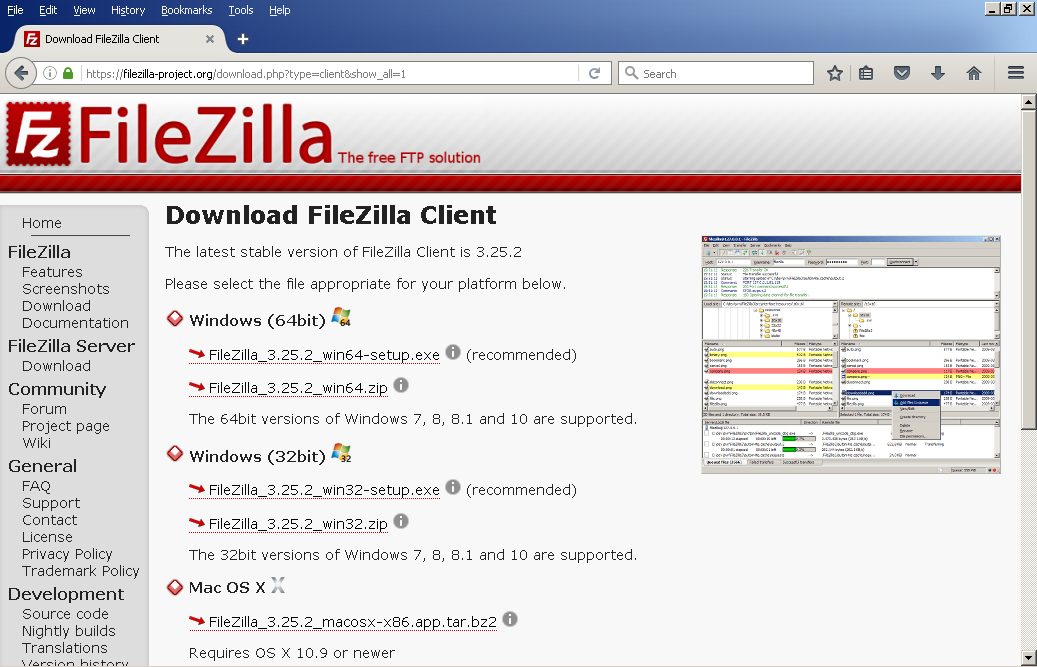
To upload files and folders to your webspace, you need an SFTP/SSH2 client; we recommend FileZilla, which is open source and freely available for Linux, Windows, and Mac OS X.
2 - configure FileZilla so you can (re)connect to your site with just two clicks.
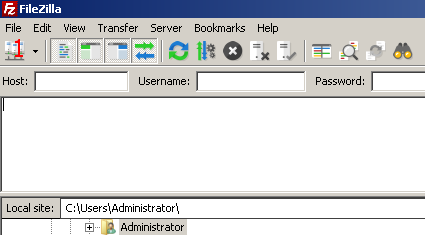
If you don't want to type in your server and logon information every time you want to upload something, you can configure what's called a site in FileZilla.
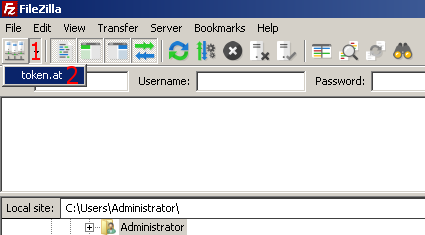
To do that, click the Site Manager icon (1).
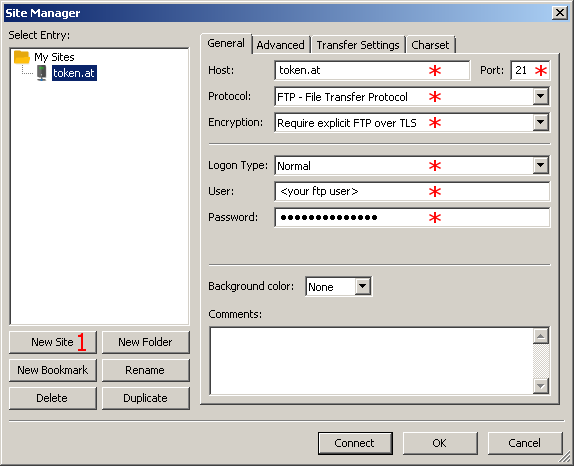
In the upcoming window, click New Site (1) and fill in the Host, Port, Protocol, Logon Type, User, and Password fields (*) accordingly.
In the Advanced tab, you can add the Default remote directory for convenience.
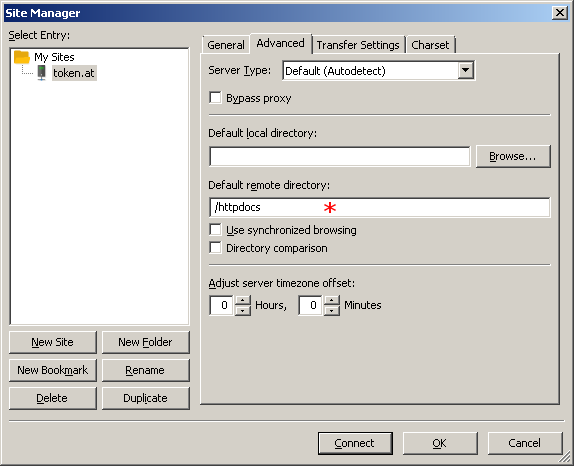
You can close the dialog with OK.
3 - connect to the configured site
Now you just need to click the down arrow besides the Site Manager icon (1) and select the saved site (2) to connect.
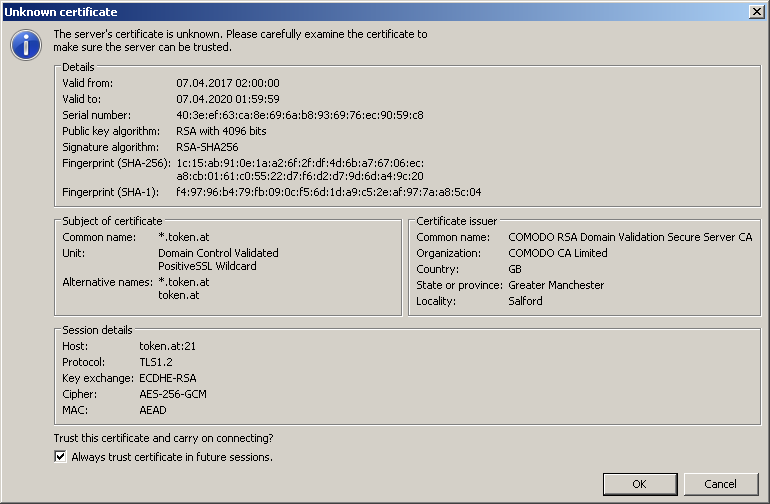
When connecting the first time, FileZilla asks you to accept the host key of the server. The host key identifies an SSH server uniquely so you can check that you actually connect to the site you really want to. Check "always trust this host" and click OK.
4 - upload you first file
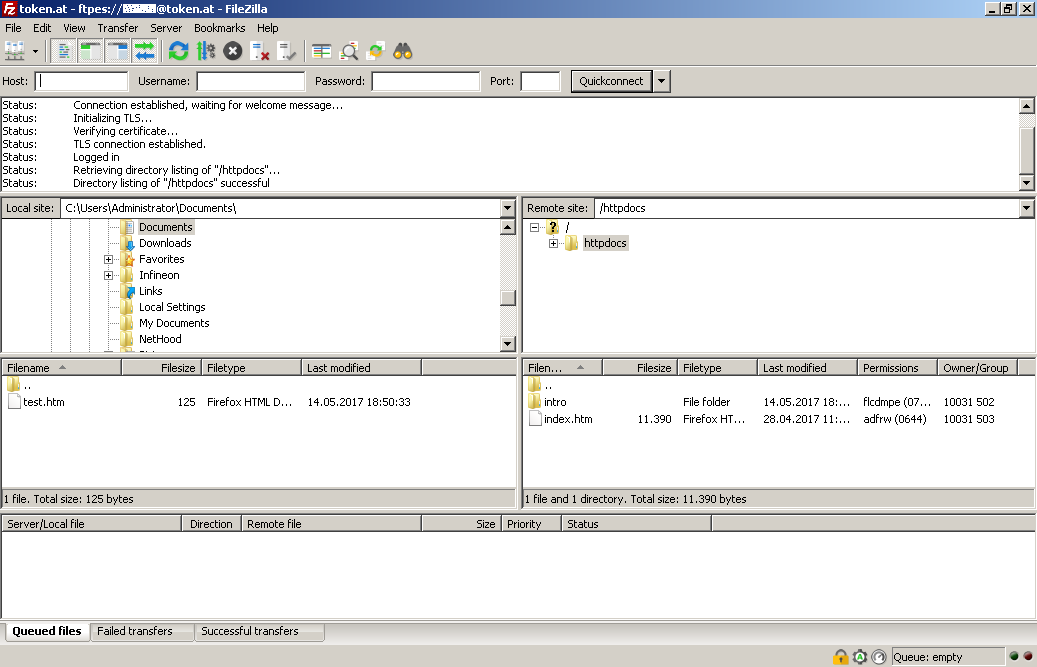
After connecting, you can see two file browser panels, your local files on the left, the files on the remote server on the right.
Make sure that the remote directory is the base folder of your webspace. (*) If you are, you can see this file (index.htm) and the intro-folder which contains the images used in index.htm. You can safely delete those files.
You can copy a file from or to the remote server by dragging and dropping it, by double-clicking it, or right-clicking it and selecting "upload" (or "download", respectively).
5 - check that everything looks like it's supposed to
Open the html file you just uploaded in a web browser and check it's like it should be.

Enjoy!